|
Author:
tantric |
|
Intro: |
|
I
was shopping around last week looking for Led Fans when I
stumbled upon this: |
|

|
|
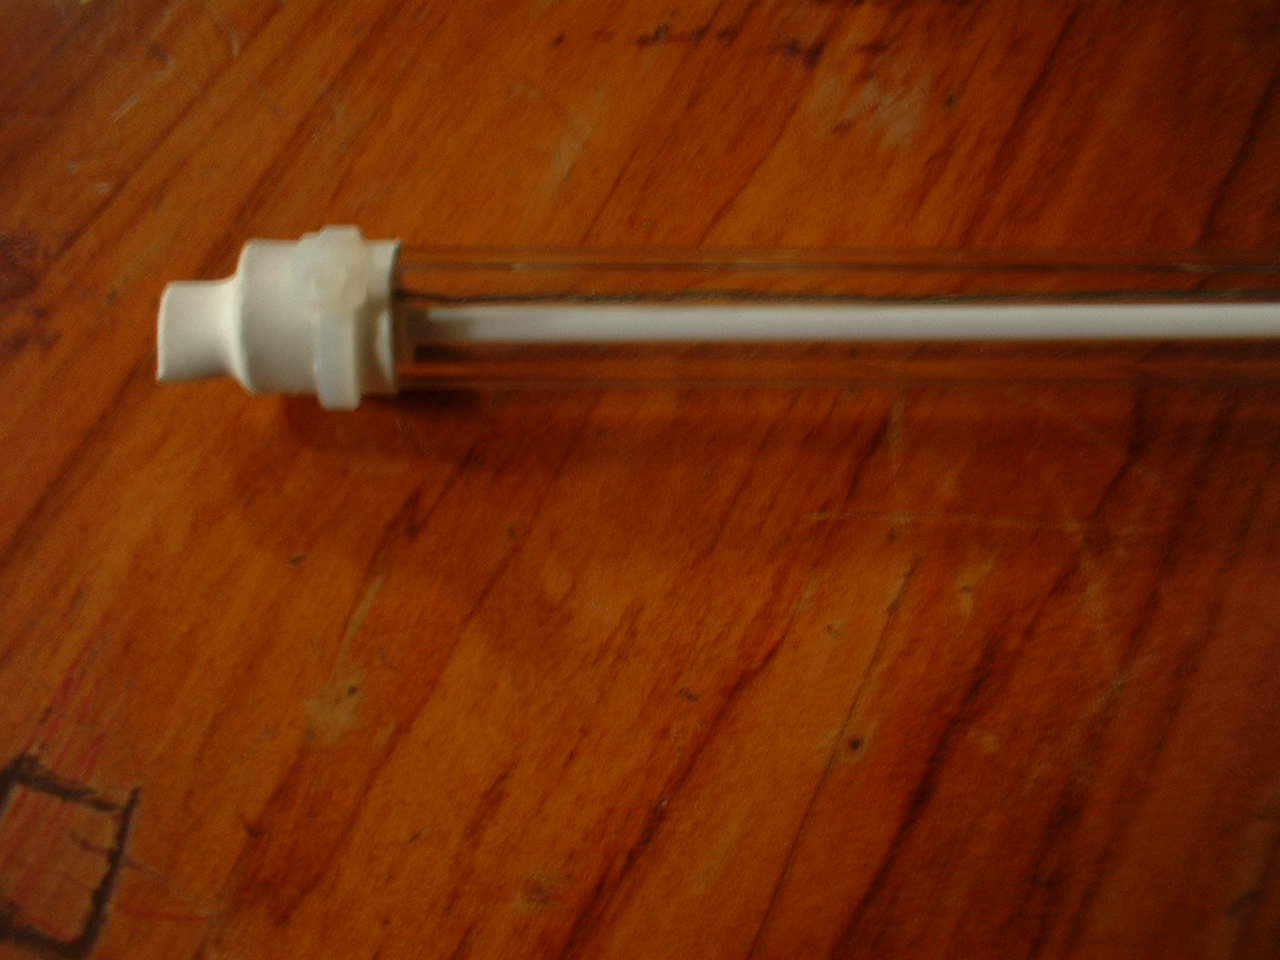
Wow
a cheap CCFL!!! it came complete with inverter acrylic tube and
molex connectors and for a measly price of php500.00 I couldn't
resist the urge "I have to get one!!!" when I
got home I quickly opened up the package, remember these aren't
the same as the more expensive CCFL kits available in the market
like Sunbeam or Globalwin brands, this is not a kit but rather a
"do it yourself" project that requires a little bit of
work on your part (we'll be doing that later...) so don't
expect to find an on/off switch or inverters placed inside a
plastic case. The package was neatly packed inside a small
cardboard box. The CCFL was nicely placed inside an acrylic tube
as to avoid breaking during shipment. While the inverter wrapped with heat shrink tubing
was a nice addition to the
package.
PACKAGE CONTENTS:
-12" Blue Cold Cathode Light
-Acrylic Tube
-Inverter with molex connectors |
|
|
|
Mods
and Installation: |
|
Installation
was a bit harder than other pre-modded kits available as
I've said earlier it requires a bit of work on your part
anyhow here are the things needed for this mod:
-Pliers
-Wire Cutter
-Wires
-Heat shrink Tubing
-Soldering Iron
-Soldering Leads
-Spiral Wraps
-Double Sided Tape
-Precision Screwdriver |
|
|
|
Now
on to the mods, sadly I wasn't able to take pictures while
I was doing the mod cause my sister borrowed my digital
camera but here are the simple steps I did: |
|
|
|
1. Remove the molex connectors
from the CCFL using a precision screwdriver.
2. Carefully remove the CCFL the from the acrylic tube, be careful in
removing the CCFL as it can break easily.
3. Strip one of the wires from the end of the CCFL up to the molex connector
to reveal the bare wires this process could take a while, take your time. When
the wires are finally stripped off, measure the length of the wire
from end to end to match the unstripped wire going to molex
connector (you may need to extend the bare wire to reach the molex connectors).
4. When finished with the wiring, carefully re-insert the CCFL tube with the new
wiring inside the acrylic tube. |
|
|
|
5.
Rewire the ends of the molex and resolder the connections
I used some heat shrinks to insulate the wires and wrapped
them up nicely using translucent spiral wraps. Looking nice
and clean... |
|

|
|
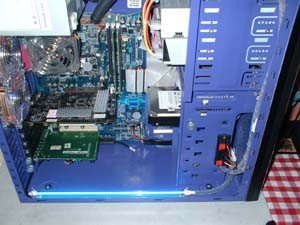
Now
all I needed to do was to find a suitable place to mount
it inside my case. After tinkering for a while I decided
to mount It on the lower portion of the case. |
|

|
|
After
doing the wiring mod installation was a breeze and it
looked a lot better than the stock wiring that came with
the package, since the inverter came with molex
connectors just hook it up directly to your PSU. I
preferred wiring it to a switch I made before so I could
turn it on or off. |
|
|
|
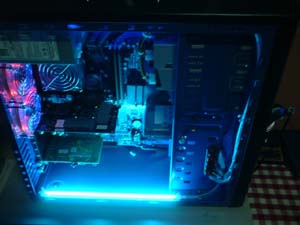
Lights
off... |
|
|
|
Conclusion: |
|
I'm
quite impressed with this CCFL package, for a cheap price
your sure gonna get your money's worth. You could get a
better looking kit with all the fancy pre-modded wiring,
boxed inverters and a power switch, but "DIY"
users like me are gonna get attracted to the price of this
package. |